Our site contains a Web Role to host the static pages of our site and a virtual application within the web role to host a version of BlogEngine.Net as our content management system (CMS). For storage, we use Azure Blob storage for new images and files added by the CMS and a SQL Azure database to handle the storage of the blog posts and some of our own Client Management.
Setting up the site and the blog engine
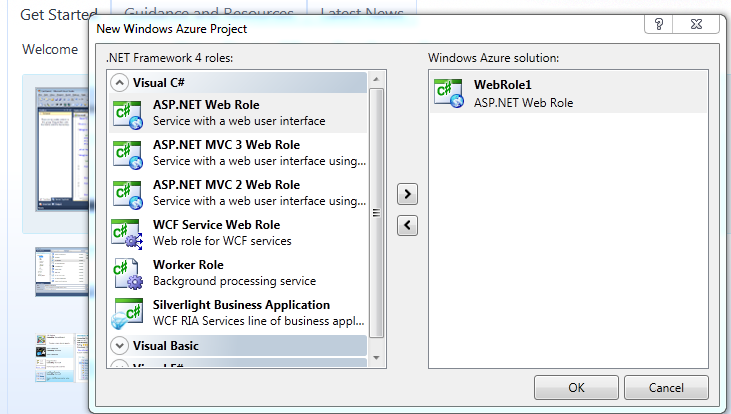
After downloading the Azure SDK and Azure Tool Kit (You can get a free 3 months Windows Azure Trial here), I created a basic Web Role in Visual Studio.
For this first iteration of our site we chose an ASP.NET Web role over an MVC 3 role because the primary function of the site would be handled by BlogEngine.Net, which has not been ported to MVC yet, and, we wanted to limit the chance of conflicts between the two applications. We also wanted to get the site up and running quickly. In the future, we plan on writing an MVC site that will use the core modules from BlogEngine.Net and Entity Framework as BlogEngine’s database provider.
The simplest configuration for BlogEngine.Net is to use the website that they provide in their download as the root website. This is mainly for URL re-writing. Since we also wanted to provide pages that were not managed by the engine, we decided to place the blog engine as a virtual app within our Web Role, which requires some additional configuration. Doing this is very simple and straight forward. While there are some changes that we needed to make to the engine’s configuration, here, I’ll just focus on the changes needed for Azure.
You need to edit ServiceDefinition.csdef (found in your Azure Project)
<?xml version="1.0" encoding="utf-8"?>
<ServiceDefinition name="CSG" xmlns="http://schemas.microsoft.com/ServiceHosting/2008/10/ServiceDefinition">
  <WebRole name="CSG.Web" vmsize="Small">
    <Sites>
      <Site name="Web">
        <VirtualApplication name="Blogs" physicalDirectory="..\..\BlogEngine\BlogEngine.NET"  />
        <Bindings>
          <Binding name="Endpoint1" endpointName="Endpoint1" />
        </Bindings>
      </Site>
    </Sites>
    <Endpoints>
      <InputEndpoint name="Endpoint1" protocol="http" port="80" />
    </Endpoints>
    <Imports>
      <Import moduleName="Diagnostics" />
    </Imports>
  </WebRole>
</ServiceDefinition>
The VirtualApplication tag points to the file location for the engine within the solution and gives it the simple alias “Blogs”. When your instance is created IIS will create the virtual application for you and you can work with it in your Web App just as you would from any IIS Server. (Note: You can also add a VirtualDirectories tag.)
Next we need to handle a situation that would not normally come up if you are hosting from a typical webserver.
Handling Uploaded Images
Once set up on Azure, our Web Role will only know about the files that are included when we upload an update to our role. The blog engine allows for images and files to be uploaded and placed in or linked to from posts. In our Azure Web Role those files would only be available to the Web Role instance that you uploaded them to, and not to any other instances you might have, and will be lost once the instance is recycled for a new one. In cloud development, the idea of server state becomes similar to state in an HTML page. And as a developer you need to create ways to propagate state changes to other and new instances of your server.
To get around this problem we needed to re-write the code that comes with the blog engine to write to Azure storage in place of the local drive. Azure storage gives you a convenient place to store and retrieve files (up to 5TB) through a simple REST protocol or you can use the Azure SDK from within your application to generate the requests for you.
I developed a Helper Class that I use inside the application. There are a few methods that I expose to the blog engine. In all the methods the first thing we needed to do was create a Blob Storage Container.
static CloudBlobContainer StartStorage(string container)
        {
            blobClient = Account.CreateCloudBlobClient();

            blobContainer = blobClient.GetContainerReference(container.ToLower());
            blobContainer.CreateIfNotExist();

            // Set permissions on the container.
            containerPermissions = new BlobContainerPermissions();
            containerPermissions.PublicAccess = BlobContainerPublicAccessType.Blob;
            blobContainer.SetPermissions(containerPermissions);

            return blobContainer;
        }
The Account property encapsulates the connection string, and connection needed to access CSG’s Azure Storage subscription.
return CloudStorageAccount.Parse( "DefaultEndpointsProtocol=http;AccountName=XX;AccountKey=XXX");
Once connected, we check to see if there is an instance of the container already created in the Blob storage environment, if it’s not there, we create it. By default, only the owner of the Storage account is allowed access to the items in storage. Since these containers will all be used on the public facing part of our website we can allow public read access. If you wanted to restrict the access to your storage the API allows for full control of Read/Write and List controls (read more).
Once we have the container ready we can write our image files to blobs inside of it with one of our public methods.
public static Uri SaveFileToBlob(string path, string fileName, MediaFileType type)
        {
            var blobContainer = StartStorage(type.ToString());
            // Get a reference to the blob.
            blob = blobContainer.GetBlobReference(fileName);
            blob.UploadFile(path + fileName);  // File from local storage.
            return blob.Uri;
         }
Similar to when we got a reference to the Blog Storage Container we get a reference to the blob we want to write to, it will be created if it does not exist. (I expect that the file will not exist at this point because of naming conventions that I use before calling this method. If I didn’t have this I could inadvertently overwrite a file from a previous upload.) Once the blob is created we upload the file that our website has uploaded to the local storage. Then, we return back the RESTful URI that we can use as the SRC for our HTML image tags, or in our links. It will look similar to:
http://csgsitestorage.blob.core.windows.net/picture/4.png
At this point the application is prepared to go to the Azure Cloud. In my next post I will talk about deploying the website to Azure and preparing and porting a SQL Database to Azure SQL.