I was in a situation recently where a client needed to remove some fields from the “New Item,” “Edit Item,” and “View Item” pages for a SharePoint list. Creating a new Content Type or modifying an existing Content Type wasn’t an option so I decided to implement a jQuery solution.
jQuery is a pre-built javascript library that simplifies interacting with web pages by providing functions that allow you to accomplish common tasks with less custom code and in less time. Think of it like buying a box of cake mix where most of the hard work was already taken care of and all you need to do is add some eggs and mix. In our case we are going to use some of the jQuery functions to find SharePoint Field Names in the HTML code and then hide that field with a minimal amount of custom coding on our part.
The following post will demonstrate the method I used to hide SharePoint fields using jQuery. It should go without saying that the development and testing of this code should be performed in a non-production environment.
Add jQuery To Your SharePoint Site
In order to allow your custom code to access the jQuery library you need to have the jquery.js file accessible. In my case I was working on an Intranet so I decided to not link to an external .js file (perhaps hosted by Google, for example) and instead download it locally.
You can download the jquery library here: http://docs.jquery.com/Downloading_jQuery. Unless you plan on modifying or extending the jquery code (which most people do not), just choose the “minified” version which is a compacted yet virtually unreadable version. Look for a “min” in the file name (i.e. “jquery-#.#.#-min.js”)
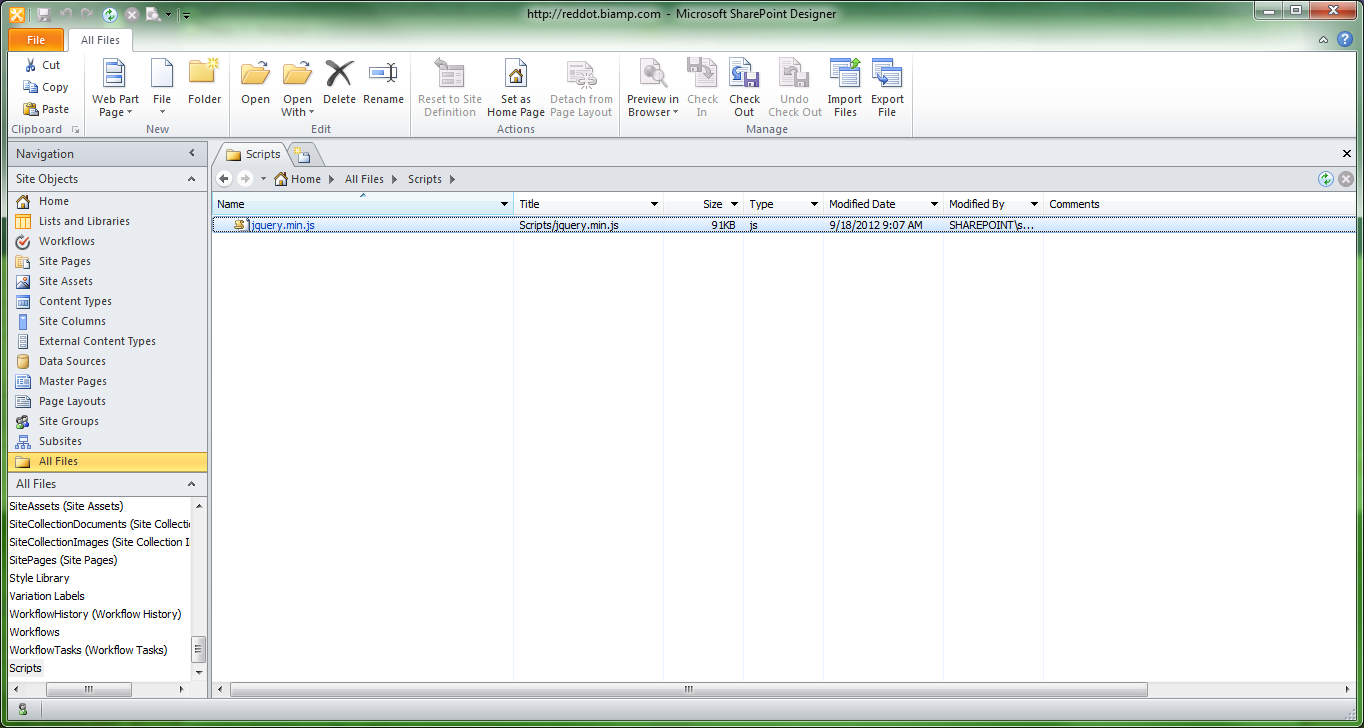
Use SharePoint Designer to open up the site where you will be adding this functionality. I put my jQuery file in the root site under a folder named “Scripts” but you can place yours wherever makes the most sense for you (Style Library, SiteAssets, etc).
Edit the MasterPage to Reference the jQuery File
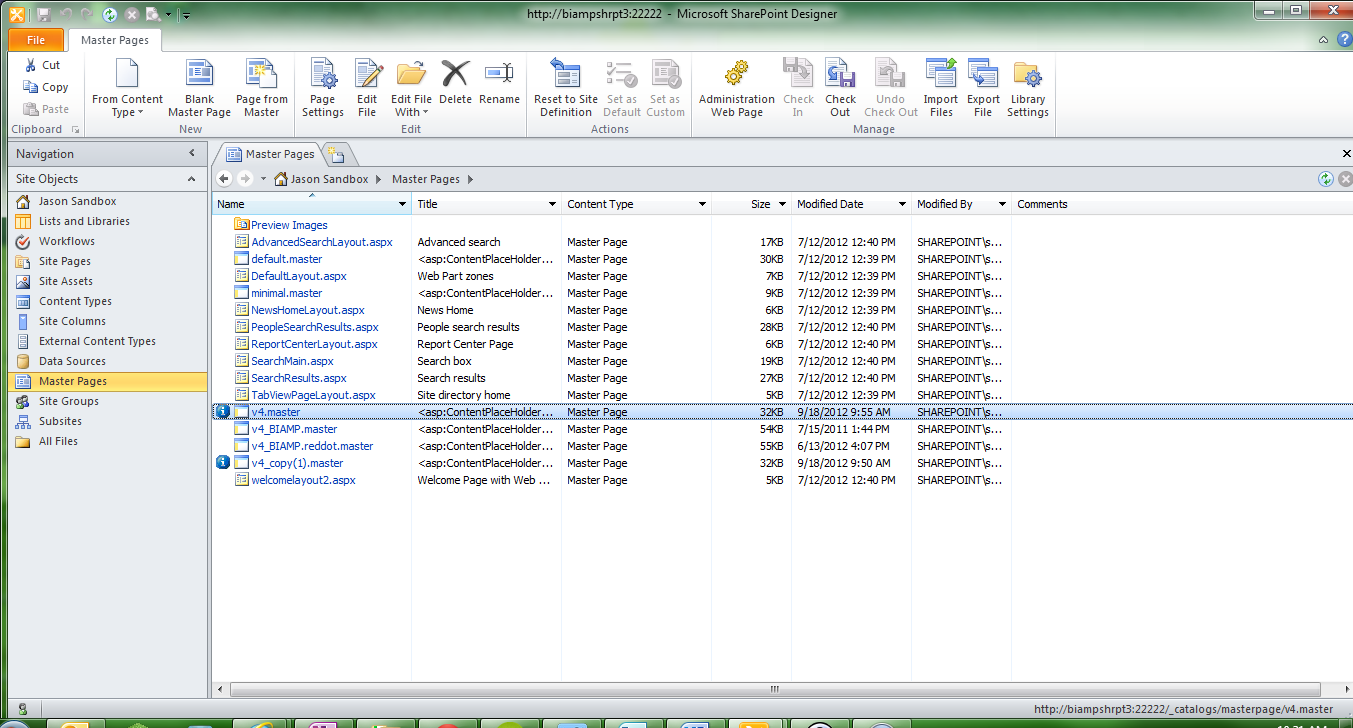
Now that the jQuery file is available and ready to be used, we need to make sure that all the pages on the site have a reference to it. In order to do this we will be using SharePoint Designer to edit the MasterPage that the list uses. In my case I had to modify the v4.master.
Please note that I am not a fan of modifying default files but in the case of this specific client my hand was forced. In these situations, be sure to back up the MasterPage before making any changes or at least be prepared to right-click the file and choose “Reset To Site Definition” in case of a problem. Again, this is why you should be doing the development in a non-production environment.
Edit the MasterPage file and then find the line with <asp:ContentPlaceHolder” with an id of “PlaceHolderAdditionalPageHead.” Enter the following line of code just above it:
<script src="/Scripts/jquery-1.8.1.min.js" type="text/javascript"></script>
It should look something like this:
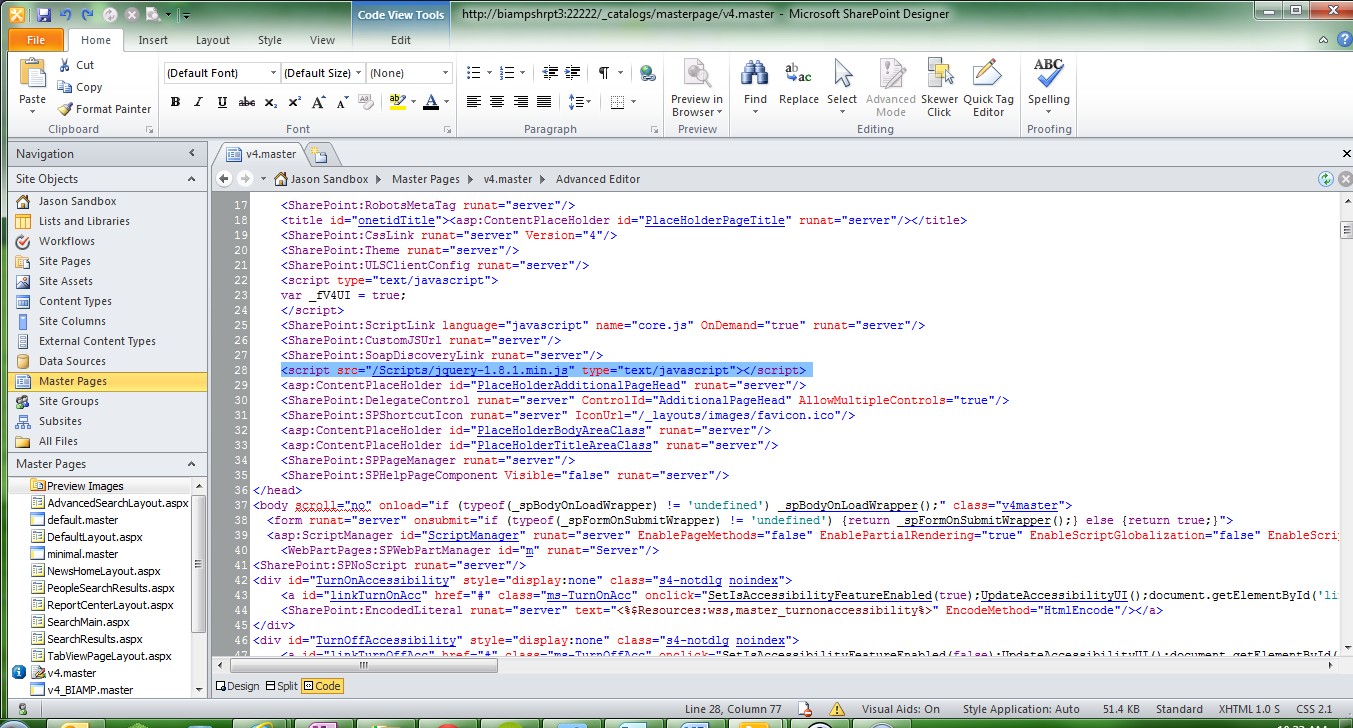
Now all the pages that reference the v4.Master MasterPage have a way of accessing the jQuery file.
Update the Form Pages
We can now go to each of the form pages where we need to hide fields. You can perform this action on one or more of them depending on what the requirements are. Perhaps you want to hide a field anytime a new item is added or viewed, but you want that field to be visible if you edit it. In that case you could just modify the New and View forms and just leave the Edit form alone.
In order to edit these pages you can use the UI through the web browser. The SharePoint list will have a URL something like this: http://Intranet/Sales/Lists/ReservationCalendar/. “ReservationCalendar” is the name of the list and this is where we can tell the browser which page we want to edit.
After the list name in the address, add the following, replacing <FormName> with the form that you want to edit: <FormName>?toolpaneview=2
Here are the form page names:
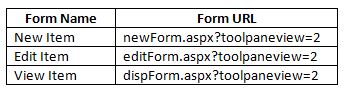
So for example if I wanted to edit the View Item form I would put the following URL into the address bar:
http://Intranet/Sales/Lists/ReservationCalendar/dispForm.aspx?toolpaneview=2
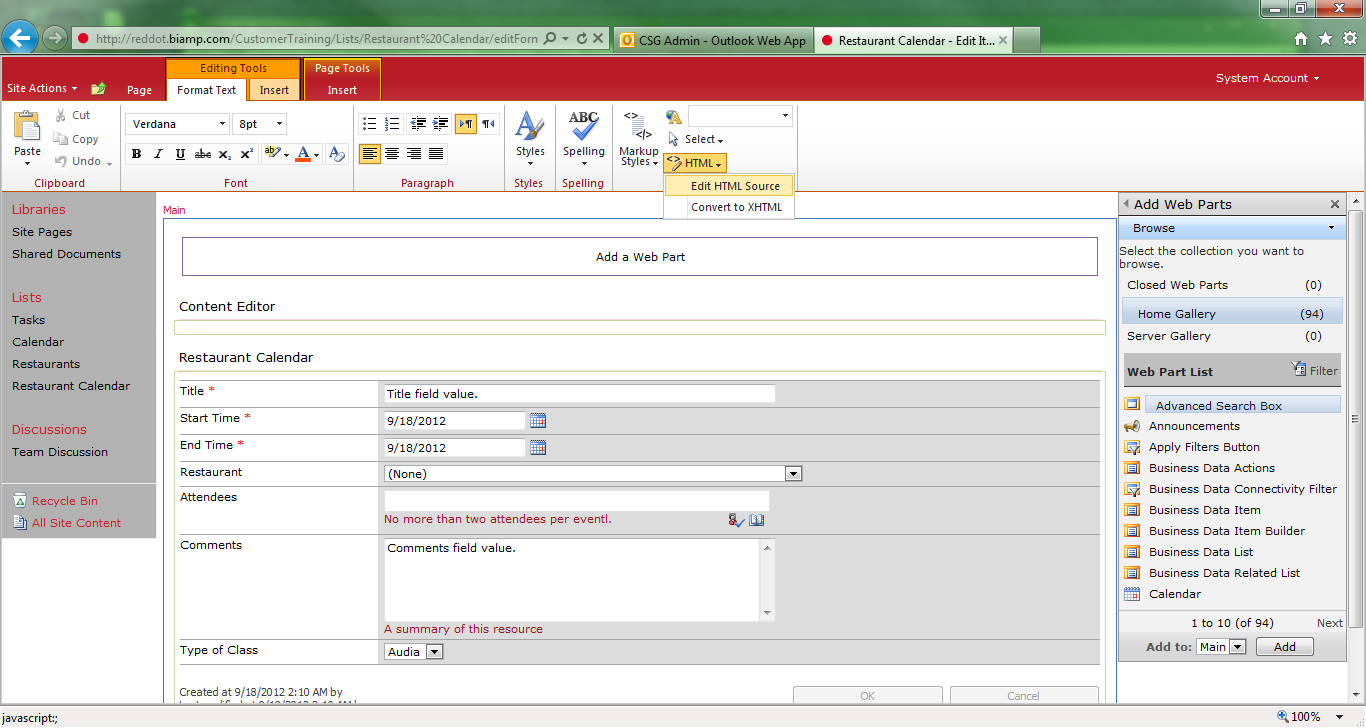
Now that you are in edit mode, click on “Add a Web Part” and choose the Content Editor Web Part. This allows you to add custom HTML (or in our case javascript) to a SharePoint page.
Once the Content Editor Web Part is added, click inside of it and choose “Edit HTML Source”:
This window is where we are going to add our custom code, which I will provide in just a minute. However there’s one more thing to take into consideration when editing the forms.
NOTE: New & Edit Item vs View Item Pages
For some reason the View Item page is different than the New and Edit Item pages. You can use the exact same code when modifying newForm and editForm, but when it comes to viewForm you have to change how you access the fields to hide.
So let’s start with New and Edit Item First:
Hiding Fields On New & Edit Forms
In this example I am going to be hiding two fields on the form: “Recurrence” and “Location.” My example reflects this, so simply replace these Field Names with the ones you want to hide.
Just add this code inside the Content Editor Web Part (using the Edit HTML Source links) that you added in the previous step.
<script type="text/javascript">
$(document).ready(function() {
$('nobr:contains("Recurrence")').closest('tr').hide();
$('nobr:contains("Location")').closest('tr').hide();
});
</script>
View Item Forms
As I stated, for some reason the View Item Form is different than the other two and the fields have to be accessed using a different jQuery function.
In fact, there are two ways of accessing the fields: by Field Name and by ID.
To get the field name and/or the ID you can just look at the list inside of SharePoint, however to ensure that the FieldName you are using is correct you can open up the dispform.aspx page, right-click it, and choose “View Source.”
In the source code find the section with the field you want to hide. There will be a commented section with the value that you are looking for:
<td valign="top" class="ms-formbody" width="450px" id="SPFieldText">
<!-- FieldName="Title"
 FieldInternalName="Title"
 FieldType="SPFieldText"
-->
Some fields will have unique IDs such as “Recurrence” which has an ID of “SPFieldRecurrence.” Other fields, though, will have the same ID such as “Start Time” and “End Time” which both have an id of “SPFieldDateTime.” This means that you cannot use the ID method to address SPFieldDateTime fields. The jQuery function needs to have a unique identifier.
With this in mind you can make the decision to either access fields via their ID or else just reference their Field Name, which may be easier in the long run. I suggest using the FieldName but feel free to choose the method that works best for you.
Once you have the FieldName or ID, you can then add the following code to the Content Editor Web Part on the View Page form.
In this example I am providing examples for both methods of accessing a field. Recurrence is being access by “SPFieldRecurrence” its ID, and Location by “FieldName.” Replace my values with the FieldName/ID you wish to hide on your form.
<script type="text/javascript">
$(document).ready(function() {

// Method #1: Access by FieldName – All fields have unique FieldNames
$('td.ms-formlabel:contains("Location")').parent().hide();

// Method #2:  Access by ID – NOTE: Not all fields have unique IDs
$('tr:has(td[id=SPFieldRecurrence])').not('tr:has(tr)').hide();
}); </script>
Now when you create a new item, edit an existing item, or simply view an item in a list you should no longer see the fields that you have chosen to hide.
Troubleshooting
If you are having trouble getting it to work, make sure that the jQuery is installed correctly. A quick test for this is to put the following code in your Content Editor Web Part above the code you entered to hide the fields:
if (jQuery){Alert(‘jQuery is loaded and working correctly’);}
This should give you a popup window that says: [jQuery is loaded and working correctly].
If you do not see the message pop up when you open the page, go back and review the jQuery installation instructions and make sure that the MasterPage is pointing to where you saved the jQuery file correctly.
Also, go look at the source of the page and make sure that the FieldName or ID that you are providing in the code is correct.
In Conclusion
While this solution works great in hiding fields, I would like to stress that I try to stay away from these types of solutions. I view using jQuery in this manner as a last resort when either no other options are available or else time and budget is disallowing a fully robust feature. In general I would have pushed for working with Content Types to solve this issue as less customization means less maintenance.
I have seen custom applications like this get overlooked in migrations or when new administrators come on. When you stray from “Out of the Box” solutions, you risk losing your customization. However this is the real world and sometimes there’s no choice. If you find yourself in one of those situations I hope you will find this useful.